How to split a Ford N model tractor
Changing or repairing the clutch in a 8N, 9N, or 2N is a lot simpler then you might think.
Splitting the tractor takes about 1 hour, about 2 hours to put it back together, plus whatever time you have to spend on the clutch itself.
These instructions are assuming the hood is still attached to the tractor.
If not you will need to somehow support the steering box. OR disconnect the steering box from the front half of the tractor.
Disconnecting the steering box involves disconnecting the wiring {remember to mark them}, throttle and choke linkage, line to oil pressure gauge, and tie rods.
Step 1} Remove battery. And then remove the 2 bolts under it that go through the battery box and transmission to the motor.
2} Remove exhaust pipe from manifold.
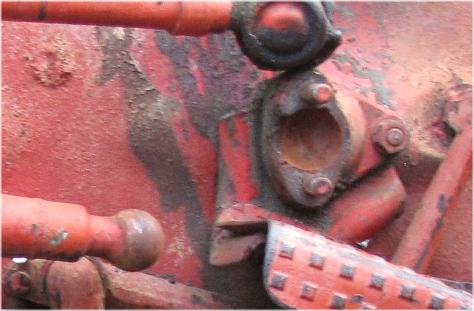
3} Disconnect the 2 arms that go from the sides of the transmission to the front end.
BE VERY CAREFUL WITH THESE. DO NOT GET YOUR HANDS AROUND THEM.
To disconnect them, remove the 2 bolts, and then use a crow bar to pull them away from the transmission.

4} Remove the 4 bolts that hold the steering box to the top of the transmission.
5} Being careful not to damage the hood/gas tank, lift it to the point that the steering box is slightly up off of the transmission.
You may need to use a hammer and chizel or screw driver to break the transmission and steering box apart.
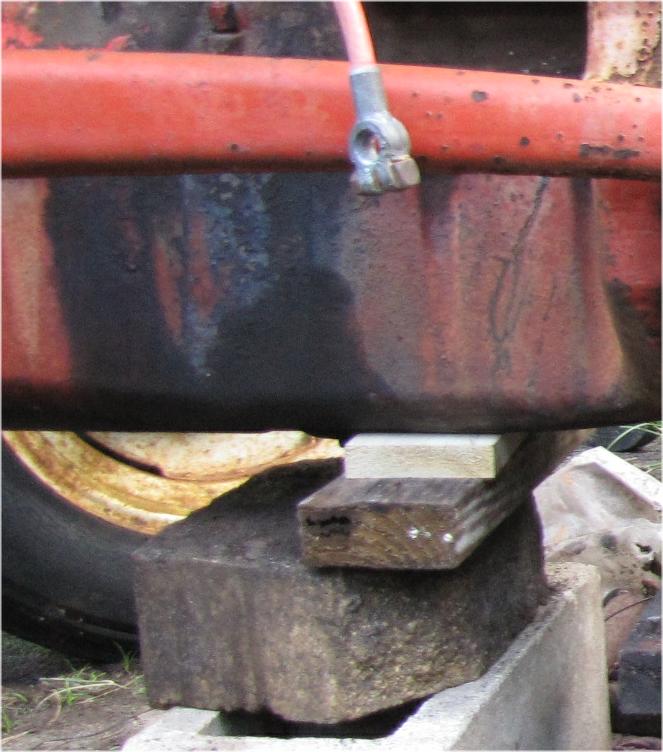
Now place blocks between the back of the motor and the bottom of the hood to hold it up.
6} Remove the 2 bottom bolts, under the tractor, that hold the motor and transmission together.
7} Block up the rear of the motor. use wedges and a hammer or crow bar to take out the slack

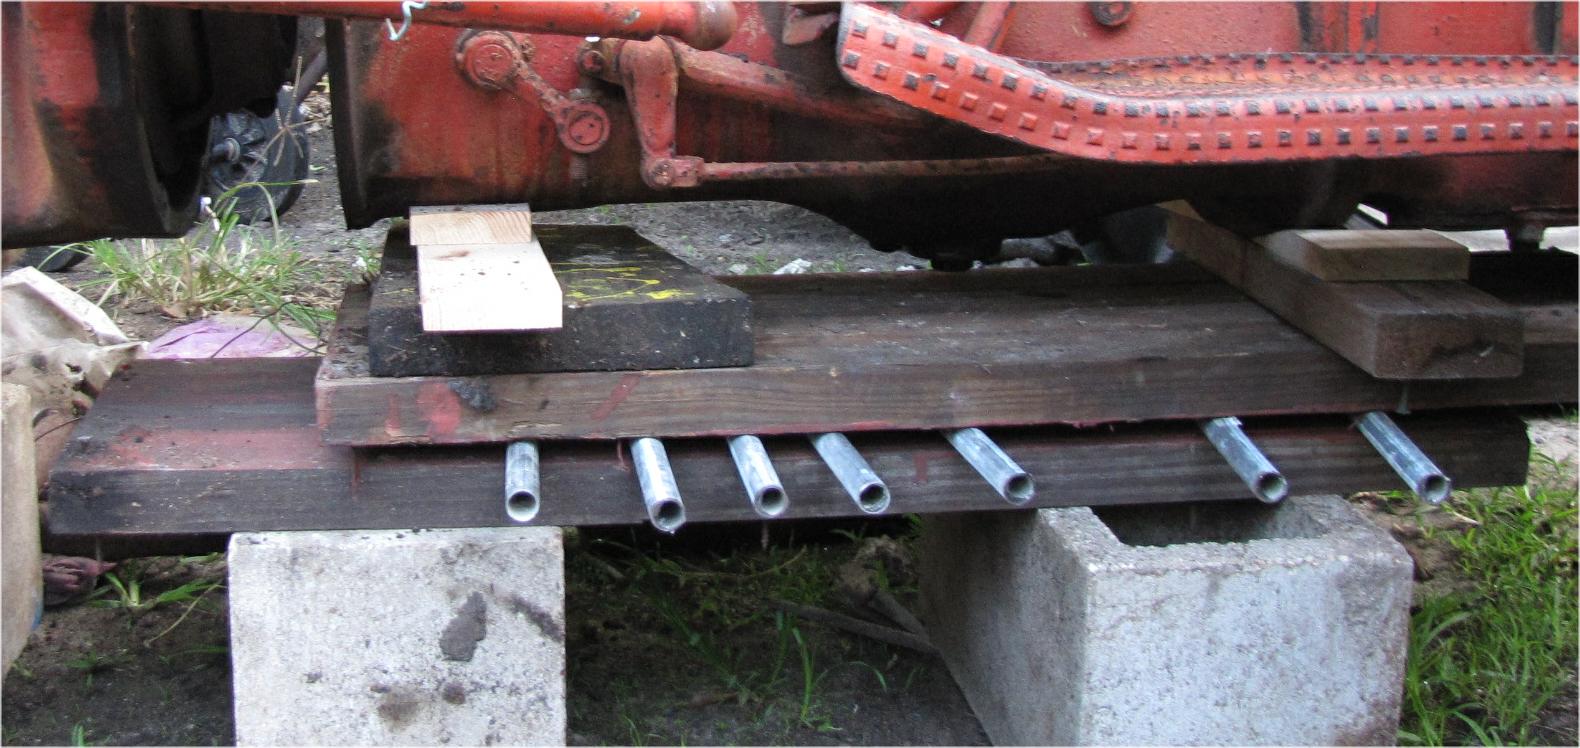
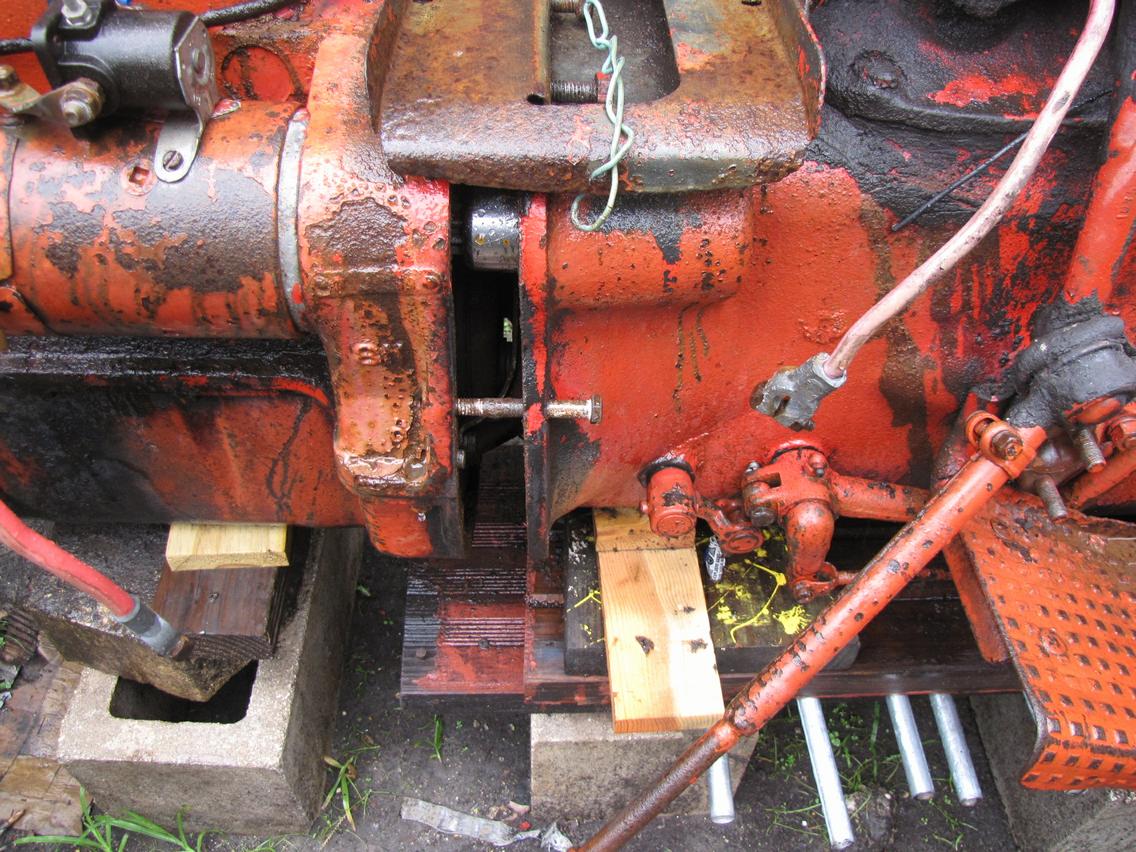
8} Place blocks under the transmission, and then 2 planks with pipes sandwiched between them.
Place boards on top of top plank to take up space, and then use wedges to take up all of the slack. Drive them in till the weight of the transmission is resting on the blocks.

9} Remove the remaining bolts holding the motor and transmission together.
They should separate some. If not use a hammer and chizel or screw driver to break them apart.
10} Make sure the transmission is in neuteral. Being careful not to roll off of all of the pipes, roll the back half away from the front half till you have ennough room to remove the clutch.
This is easiest done going back and forth between the rear wheels, rolling them a little, chocking them as you go.
If you're removing the clutch, you want to allow plenty of extra space because you'll need to use an alignment tool when you put the clutch back in.
Reassembly is pretty much the opposite of disassembly.
The hardest part of reassembly is alignment but there are some tips to make it easier.
First DO use an alignment tool for aligning the clutch disc and pilot bearing.
Next pull the motor and transmission back together as far as you can by rolling the rear wheels.
Install 2 extra long bolts to help align the motor and transmission. Tighten them so they stay straight but do not tighten them to the point that they pull the motor and transmission together.

At this point, the center of the transmission shaft should be started into the center of the clutch disc, and the gap between the motor and transmission should be the same from top to bottom, and side to side. Try to keep it this way.
And at this point it will help to add 2 small ratchet straps, one on each side, to help pull the 2 halves of the tractor together.
Don't pull on them harder then you have to but some tension will help.
Now to align the splines on the shaft with the ones on the clutch disc, put the pto in gear and then turn the pto shaft. Remember to remove whatever you use to turn the shaft.
Optionally, you can use the starter to spin the motor {be careful not to start it}.
If you have help, it may help to wriggle the motor and transmission while the shaft is being turned.
At some point the splines will align and the two halves will move about an inch closer together, usually all of the sudden.
Once that happens the 2 halves will be about an inch apart.
Tighten the ratchet straps again, and then install but DO NOT TIGHTEN the 2 bolts just below the alignment dowels in the back of the motor.
You will have to jiggle the motor and transmission around to get the bolts aligned enough to go in. While doing this the pilot may align and the 2 halves may come together again, leaving about a 1/4" gap.
If they don't come together continue turning the pto and/or motor, and jiggling the motor and transmission untill they do come together.
Once you get down to 1/4" the only thing holding it apart is the dowels.
At this point you can begin snugging the 2 bolts below the dowels and adding more bolts. Do not try forcing the motor and transmission together using the bolts.
Just snugging them and adding them all will make the pins align and then the 2 halves will slide together.
NEVER use bolts to force things together or you may break something. Be careful to only snug them
You can however, put a good bit of pressure on the ratchet straps without doing any damage.


